

LG250 & LG400 OPERATION
LG250 and LG400 GFCI Operation
1– Confirm that the power is not energized.
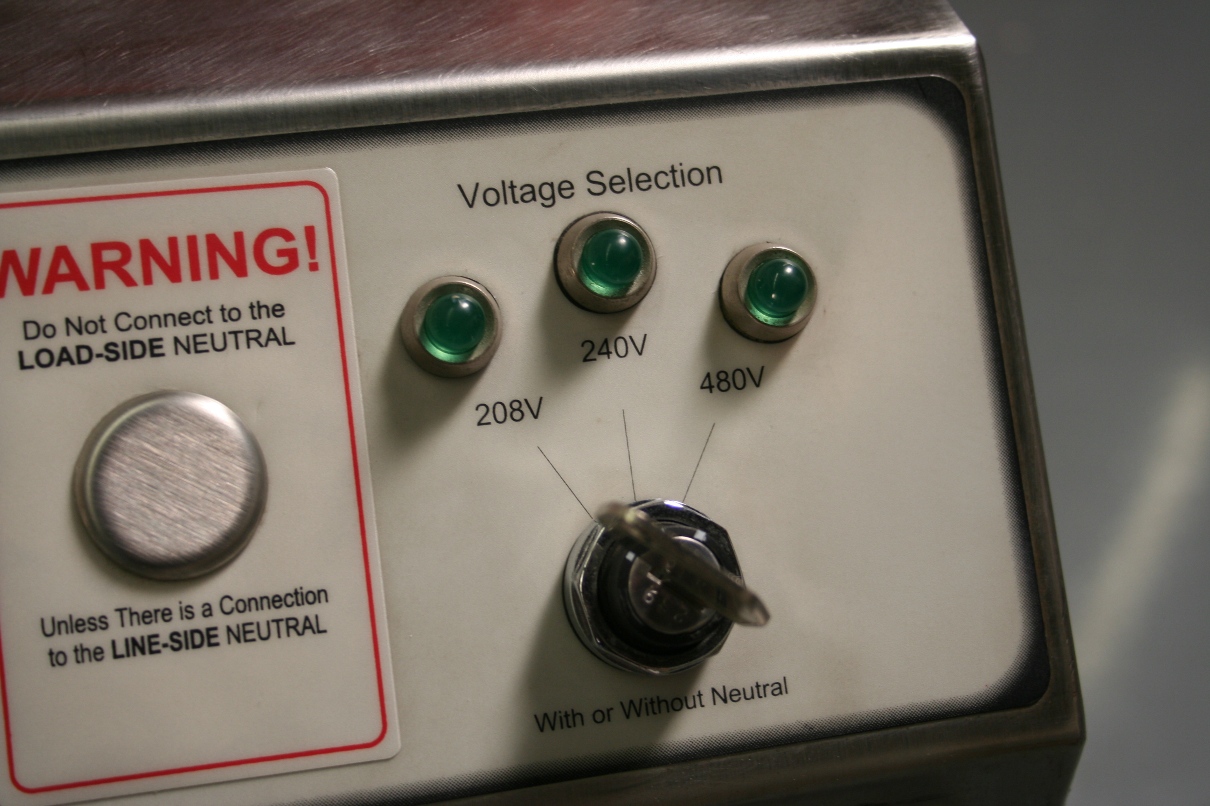
2- Make sure the unit is set to the desired voltage using the voltage select key. Warning: Never attach 480v to a unit that is set on 208V or 240V. This will damage the unit and can be dangerous.
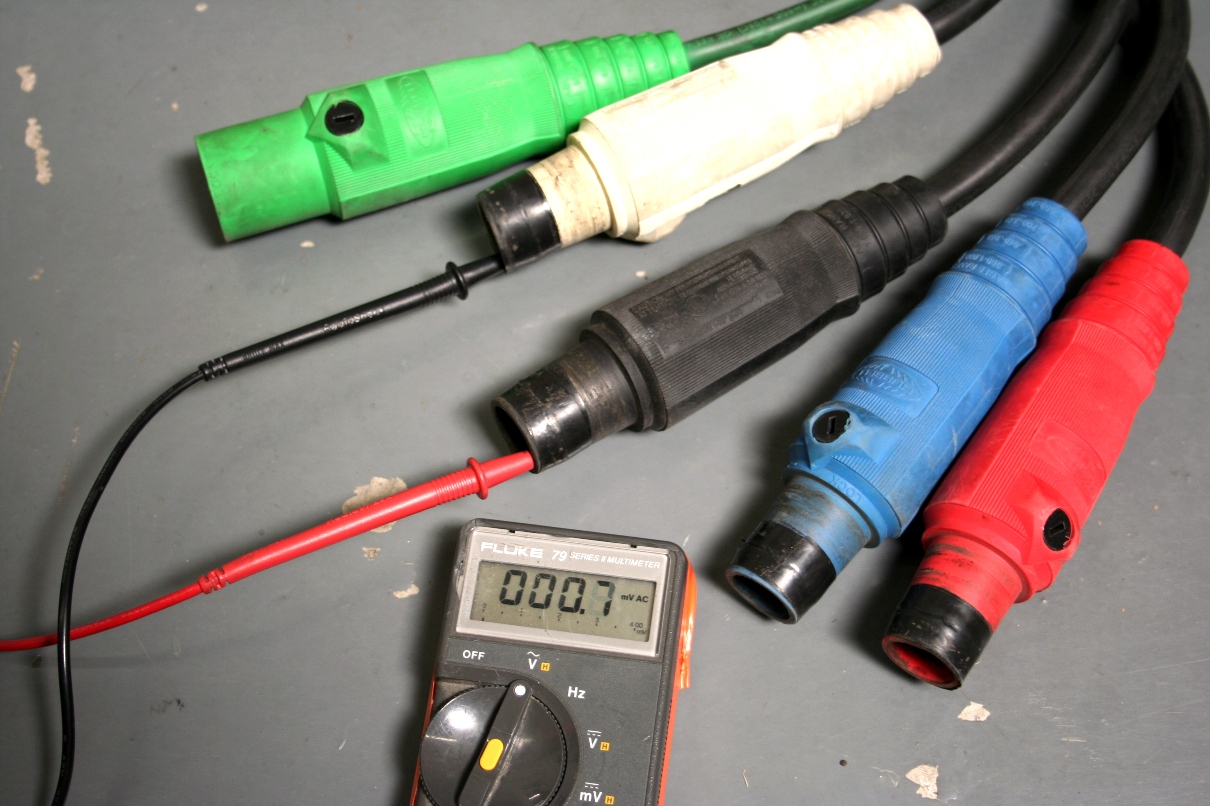
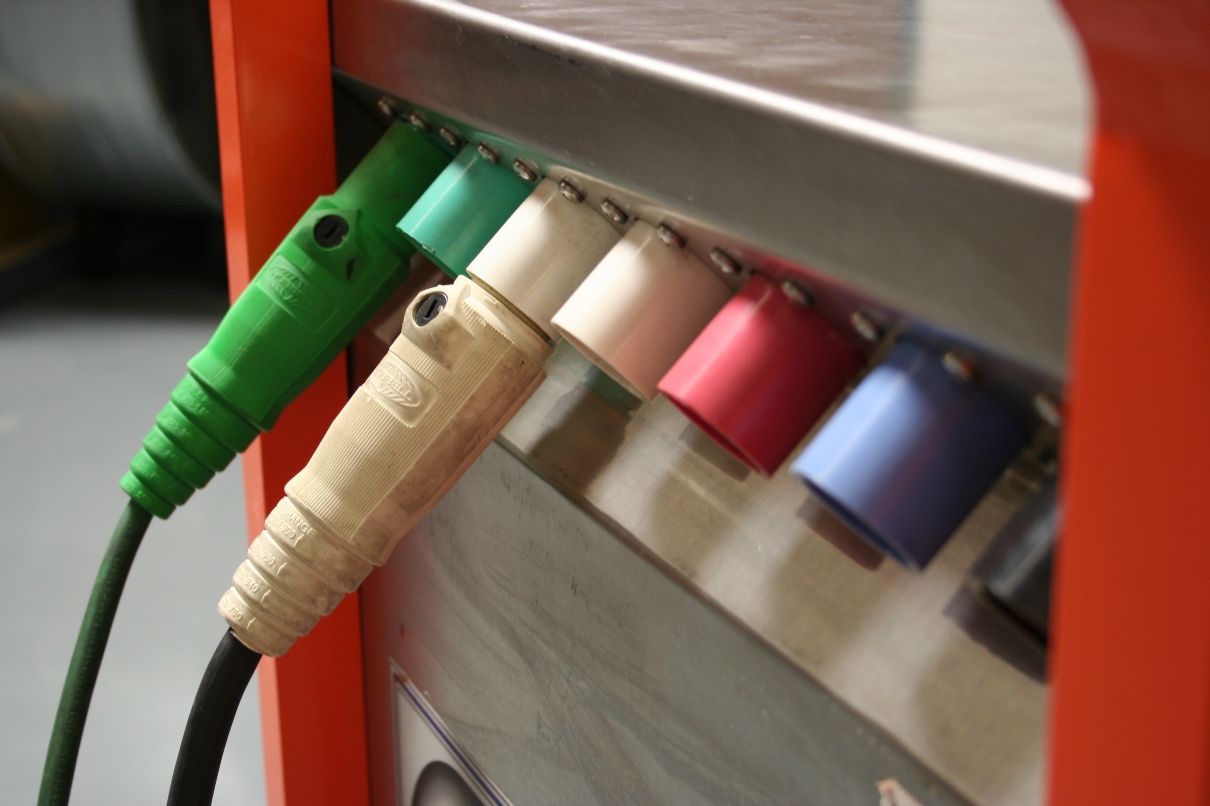
3- Starting with the ground (green) connect camlock cable in this order to the line side: Green, White, Red, Blue and Black. Repeat this procedure on the load side. Always remember that the green and white are the first to connect and the last to disconnect.
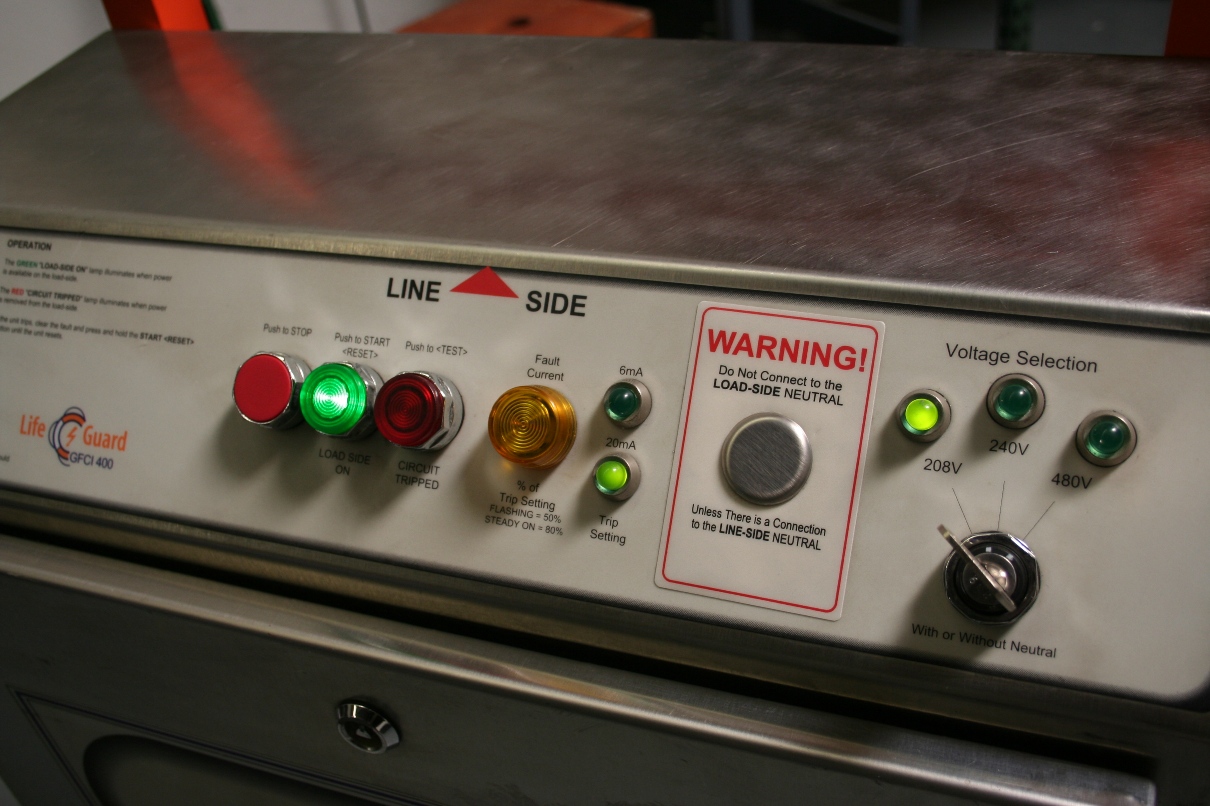
4- Once all connections in your power system are made or safely capped then energize the power. The GFCI should now have the Red Circuit Tripped indicator illuminated indicating the unit is receiving power. At this time you can verify that the unit is set to the desired (6mA or 20mA) trip setting.
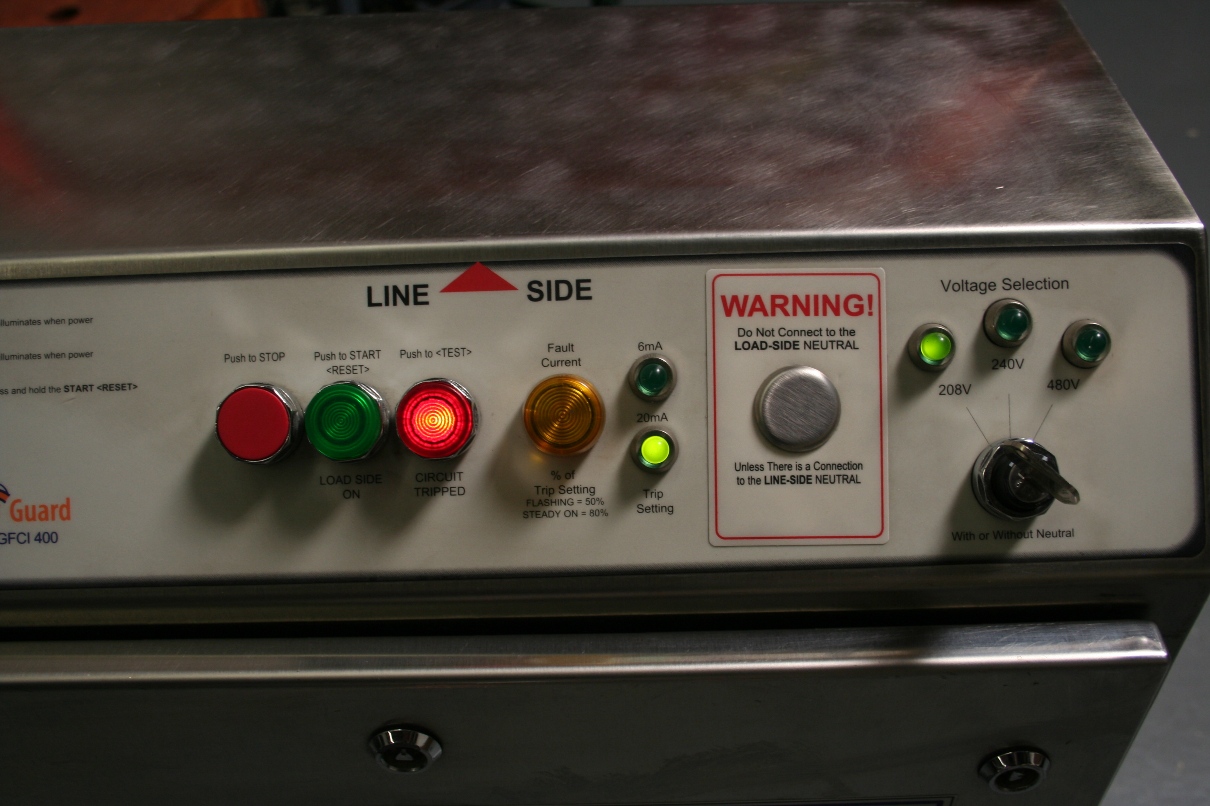
5- To energize the system press and hold the GREEN start button until unit kicks on and green light holds. Wait a few seconds before proceeding to test procedures.
TEST PROCEDURES: It is recommended to perform a test before each use
1- Once unit is properly connected to power and the GFCI is energized, the GREEN LOAD SIDE ON button should be illuminated. (It is not necessary to have connections on the load side of unit for the purpose of testing unit.)
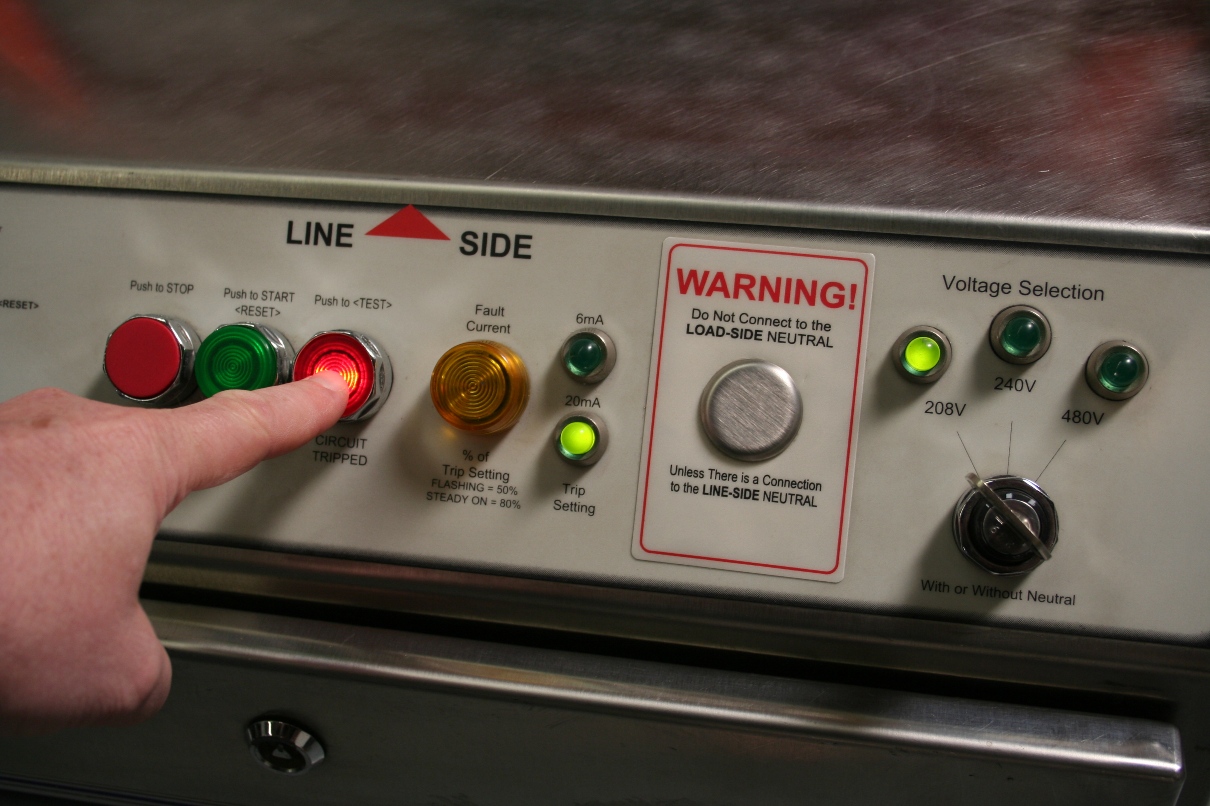
2- press and hold the RED TEST button for 2+ seconds until unit trips.
3- Recharge unit by holding down the START/RESET button. Unit should hold in START Mode.
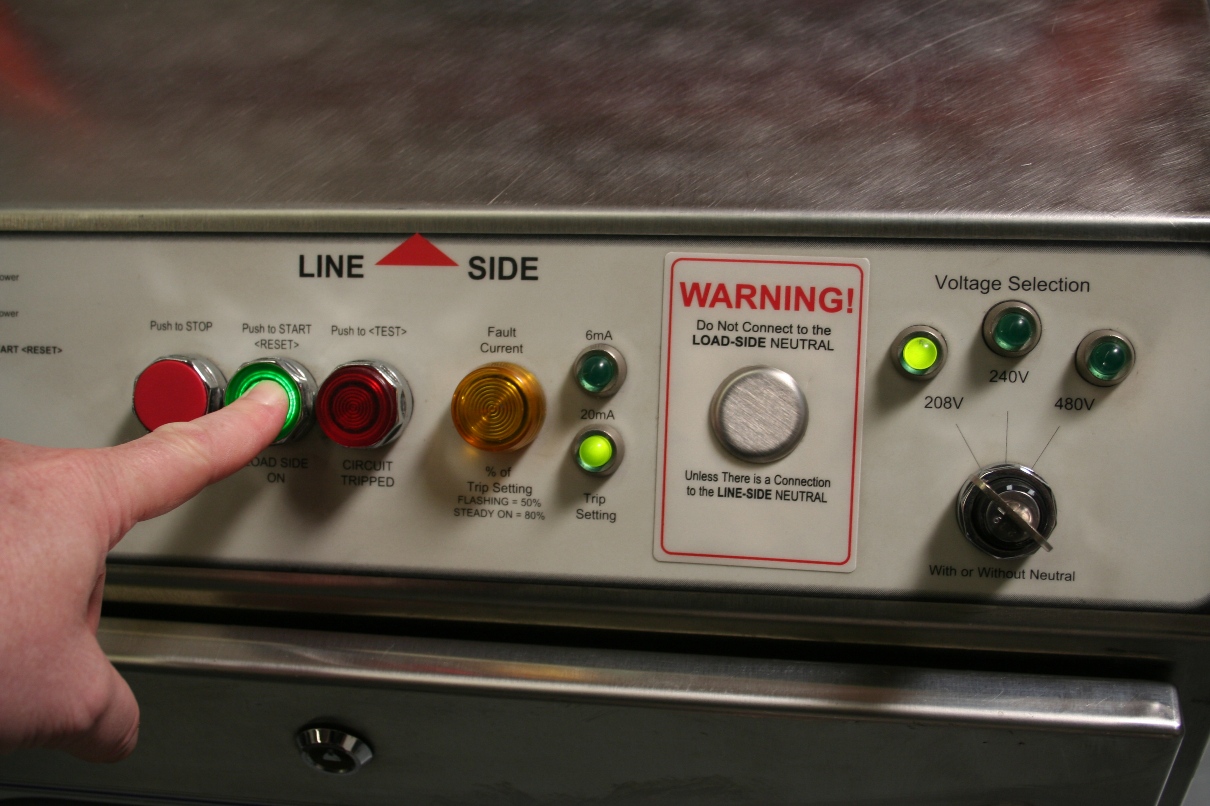
4- Press the solid RED STOP Button to the left, unit will disengage. Recharge again by holding down the GREEN Start <RESET>button to ensure all controls function properly.

Unit should hold in START mode and repeat the above steps as needed.